Business Central User Permissions Updates
No need to ask for it- today, we are going to discuss permissions in Microsoft Dynamics 365 Business Central. As your company prepares to implement BC (or has already implemented and wants to further refine security), it’s imperative to have some discussions around permissions and what type of permission structure will work best for you. It’s best to try and adhere to the Principle of Least Privilege, which states that each user should be granted the minimum permissions required to function (ie, perform their job). Users need to be able to access parts of the system that their job requires, but giving users too much could allow them to access resources they shouldn’t be able to and see sensitive data. Additionally, user permissions reflect the responsibilities of the user, and can help define and maintain segregation of duties.
In the past few months, Microsoft has implemented major changes to the way permissions work in Business Central. Let’s take a look at some key changes and their implications.
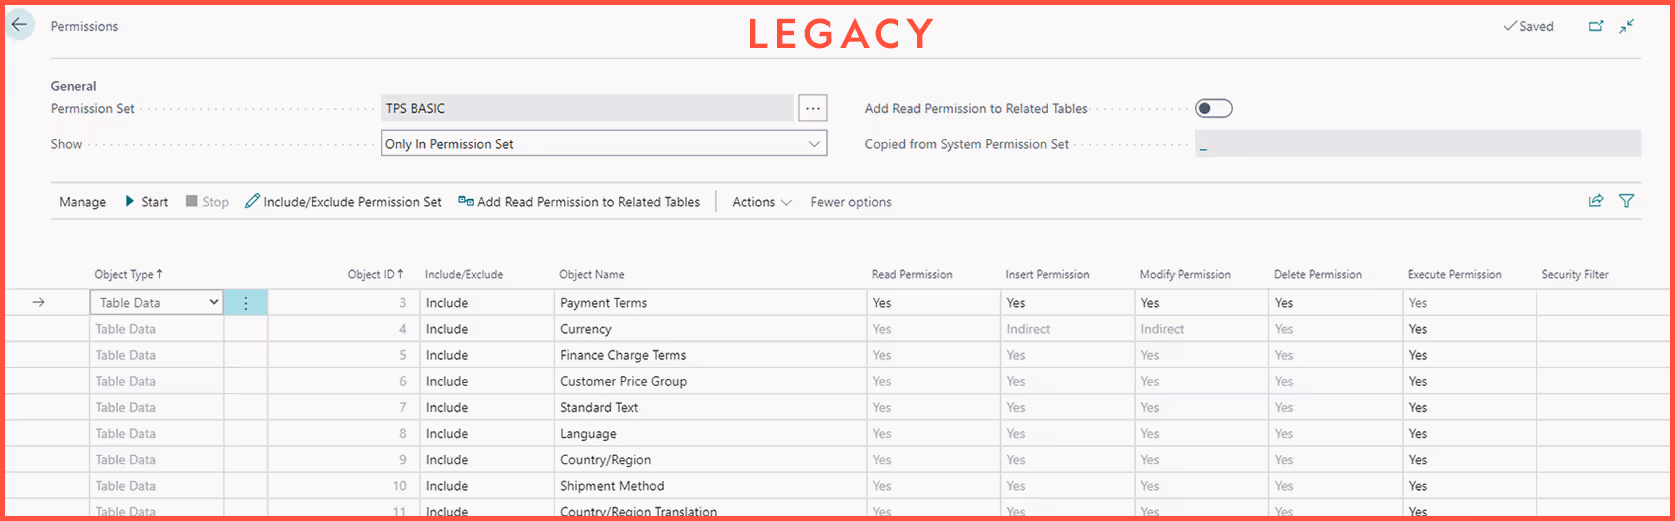
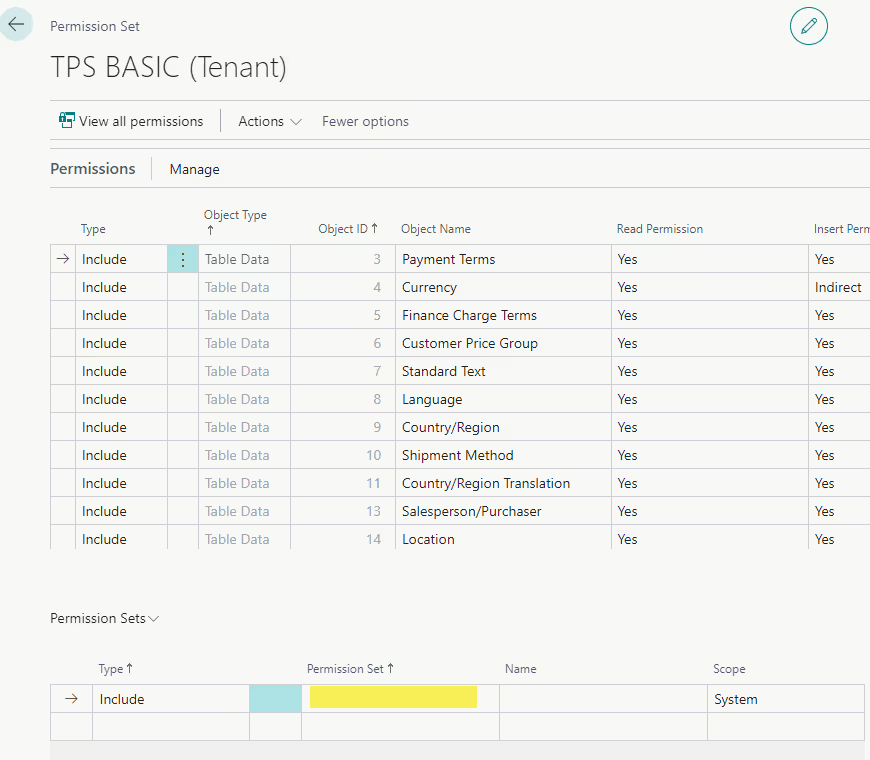
Starting off, the permissions table has been updated. The legacy view of permissions has been replaced with a new version which includes some important new features. Most noteworthy is the ability to add permission sets to other permission sets. You heard that right, your permission sets can now live inside other permission sets! This allows you to create permission sets that basically function the same way a user group does. You can add all the permission sets that you would want assigned to a particular group to one parent permission set, and then assign this permission set to the users either directly or by putting it into a user group. This ability to replicate user groups inside of a permission set is invaluable, as Microsoft will be removing user groups from Business Central in a future update.
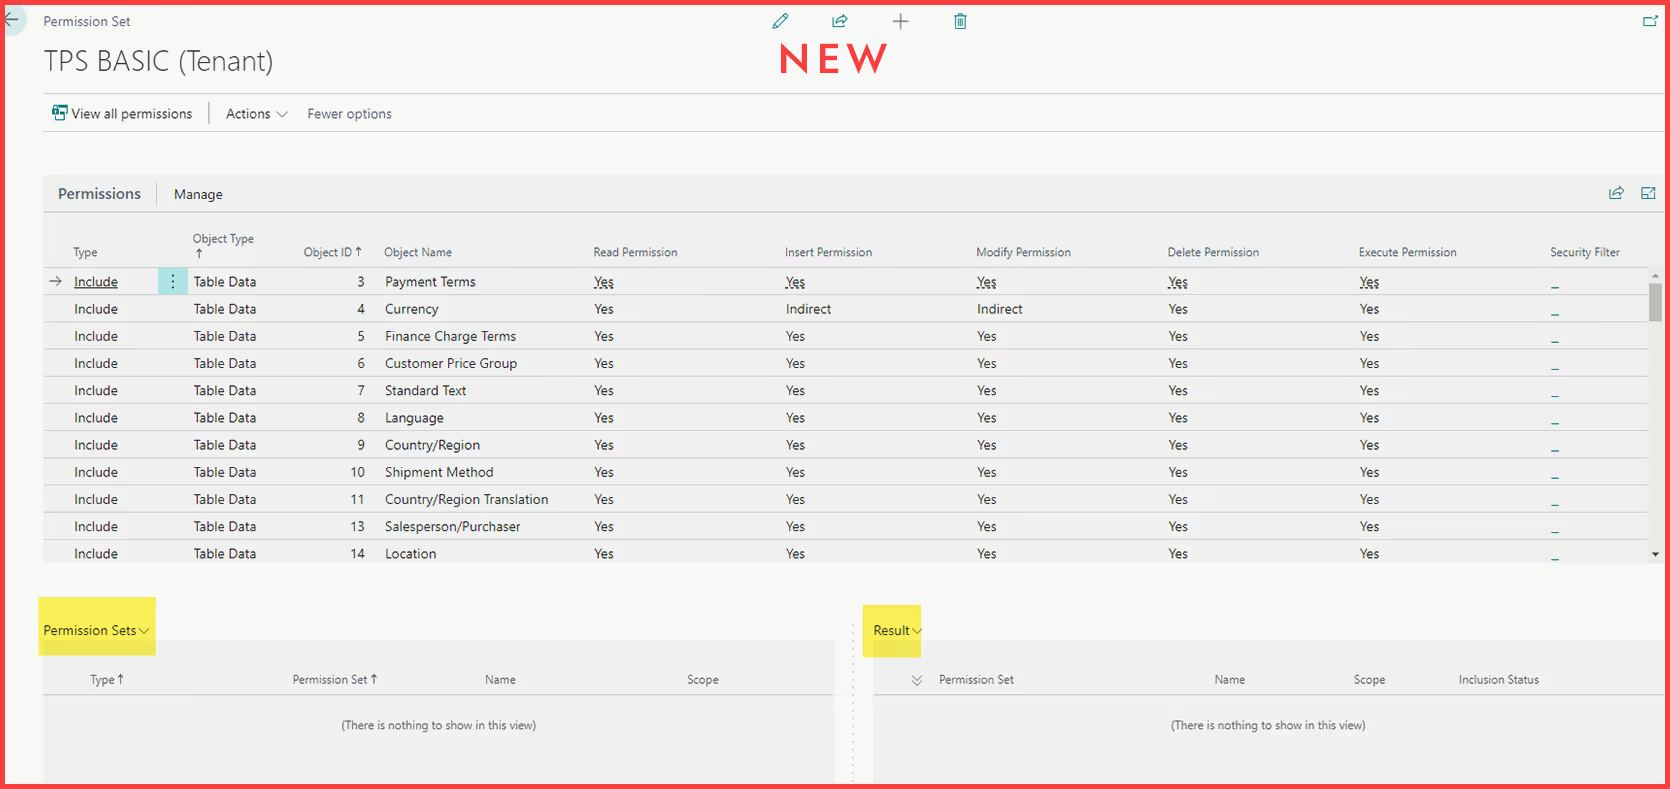
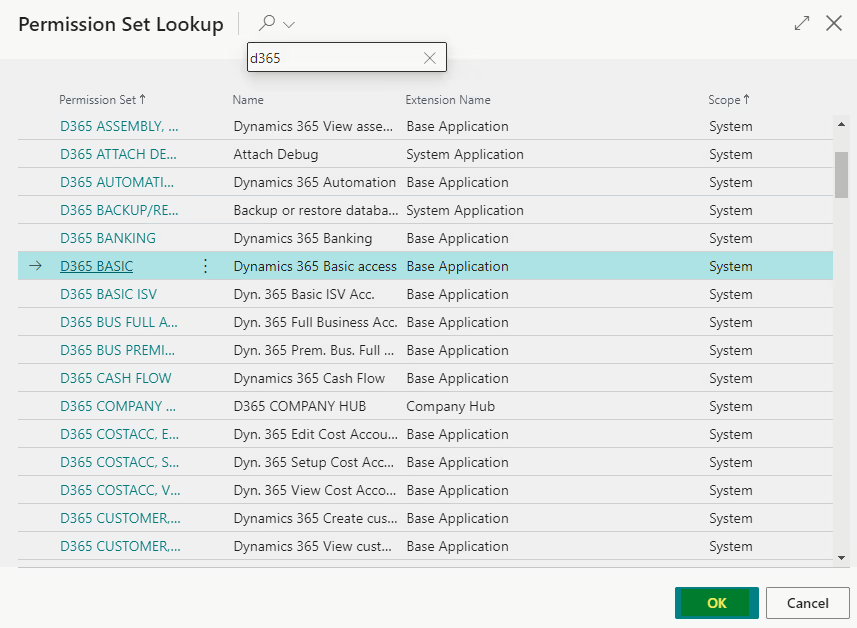
To add a nested permission set, first open the parent permission set. In the lower left of the page, click into the Lines under the Permission Set column heading. You will be presented with a list of all permission sets. Select the desired permission set and then hit OK.
This new way of nesting permission sets becomes even more useful when combined with the exclude permission feature, which does exactly what the name implies. You can exclude permission to a table, report, page, or other object by adding a line in the permission set with type “Exclude” rather than “Include.” From there, you can specify the Object Type & Object ID, and which type(s) of permission you want to exclude (read, insert, modify, delete, or execute). You can also choose to reduce the permission to Indirect in one area rather than excluding it entirely, or leave the box blank to not affect the permission in this area. This is especially useful on pages and reports as often the base permission sets grant full access to all pages and reports using the object id 0.

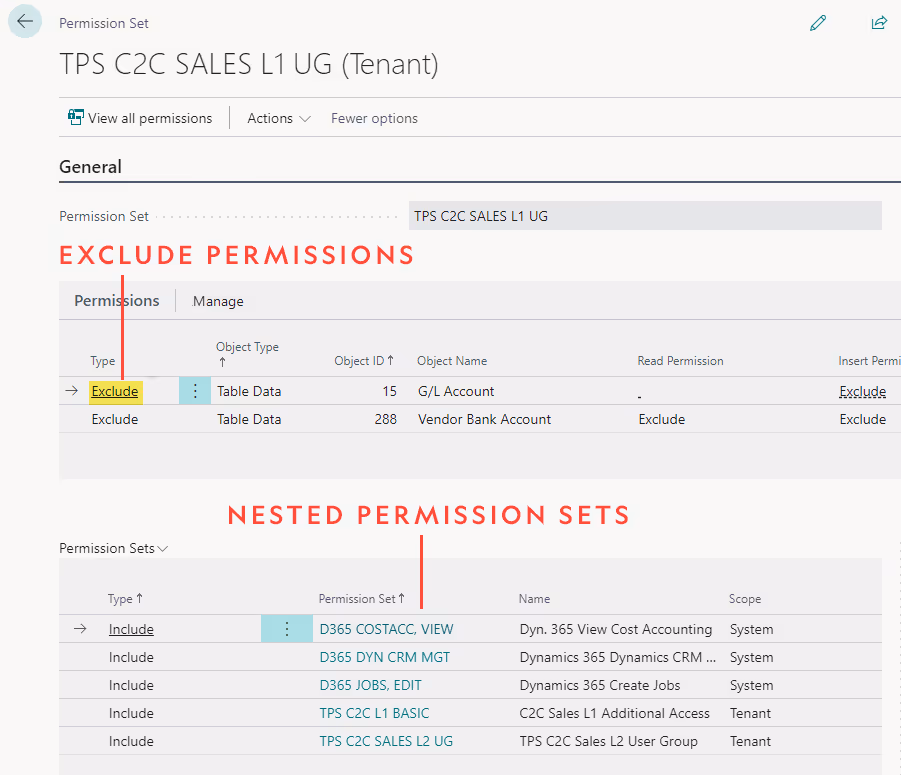
To make full use of excluding permissions, we need to keep in mind the concept of the permissions hierarchy. Let’s say we have three blank permission sets: A, B, and C. We add permission set C to permission set B, and permission set B to permission set A. The structure now looks like this – A < B < C, and A will have all the permissions granted by both C and B.

In C, we grant full access to table 23, the Vendor table. In B, we exclude insert permission to table 23. This exclude permission carries to A, and now any user assigned A will not have Vendor insert permission. Here comes the twist – let’s add full access to table 23 to A. Now, A grants full access to the Vendor table once again. Even though insert permission to table 23 was excluded by B, A is at the top of the hierarchy, so the rules applied there override any below it.
Understanding this hierarchy is extremely useful when it comes to tweaking individual permissions in a parent permission set without modifying the underlying permission sets in any way. For our clients, we create parent permission sets (which will be assigned to the users) comprised of many nested permission sets, including some D365 permission sets. When a client comes to us with a permissions concern and wants to restrict access from a particular group of users, we exclude the permissions at the level of the parent permission set. This way, we don’t have to create copies of the D365 permission sets, remove permissions, and substitute them in the parent permission sets; we simply exclude permissions at the highest level in the hierarchy while continuing to reference the D365 sets.
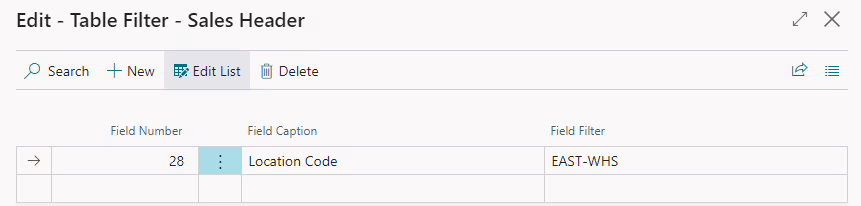
Another feature worth mentioning, though it isn’t new, is security filters. These provide ways to fine-tune the access users have to particular areas of the system. If your company has multiple shipping departments, you could create separate permission sets for each department and set a security filter on the Sales Header Location Code field so that users in each department will only see Sales Orders with their department set as the location.

Whether you’re live on BC or just starting your implementation, here are some permissions management suggestions you may find useful:
- Organize permissions by business area. Creating separate permission sets for Sales, Purchasing, Accounting, Manufacturing, IT, and other departments will cover the needs of the majority of your users. Remember, the more permission sets you create, the more you will need to manage, so consolidating these into as few groups as possible is desirable.
- Organize permissions by level of access. In our organization, we use L1 & L2 to denote permission sets with more access vs those with less access. We combine this with the permission sets for each business area to create several levels of permissions for each business area. For example, you could create permission sets Sales L1 & Sales L2, with Sales L1 being assigned to Sales Managers and Sales L2 being assigned to Customer Service Representatives.
- Have a common naming convention. In our organization, all permission sets and user groups use the prefix “TPS” (Ternpoint Solutions), so they are easily distinguished from system and extension permission sets.
- Exclude at the parent permission set level. To ensure that the exclusions in your permission sets are applied, always exclude at the parent permission set level (ie, the level of the permission set which actually gets assigned to the user). If the exclusions are applied lower in the hierarchy, they can be overridden by permissions granted in the sets above them.
- Follow the Principle of Least Privilege. Less is more! Any member of our team can vouch for the fact that the later in a project you are, the harder it will be make permissions changes. Assign users the fewest and lowest level of permission sets you expect they will need to begin with, and grant them more as needed.
- Test your permissions and be flexible to changes. For each of our clients, extensive testing is needed with each parent permission set to ensure that it gives the correct level of access to the users. As your users test your permission sets, inevitably they will run into permissions problems which will need to be remedied. Expect to tweak your permission sets as your users test the system so that you can get them as close to perfect as possible before go-live
And there you have it! Why not take some time and play around with the features you just learned about?
We hope this blog was of use to you. Check back for upcoming topics including: Inventory Reconciliation and Best Practices and New Features For Dimensions.
Ternpoint Solutions is a Microsoft Dynamics 365 Partner. We would love to hear from you, reach out using our contact us page.
Reach out to learn more about what we can do.
contact us
